Preconfigured Giving Link Guidance
How To Use Preconfigured Giving Links
Basic Customer Requirements
To be eligible to take advantage of the Pushpay Preconfigured Giving Links feature, customers need to have access to all of the following:
- Pushpay
- Pushpay API (recommended)
If a customer does not want to consume Pushpays API, they will not be able to take full advantage of the rich features that the Preconfigured Giving Links can offer.
Authorization and Scope
For authorization, customers are required to use either OAuth2 (Code Flow or Client Flow) as documented here: https://pushpay.io/docs/security
Third party developers are required to use Code Flow.
When requesting authorization, the following scopes should be sufficient:
| Scope | Description |
|---|---|
| read | Read-only access to resources owned by the subject claim of the token |
| merchant:view_payments | View/search payments for in-scope merchants |
| lists_my_merchants | List merchants that you are an administrator for |
| merchant:view_recurring_payments | View/search recurring gifts and their schedules |
| merchant:view_community_members | View/search for donors |
Preconfigured Giving Link Parameters
To launch the Pushpay giving experience, a Preconfigured Giving Link must be constructed. This consists of a handle for the Pushpay Merchant Listing plus a set of optional parameters.
All fields are optional and should be joined by an ampersand (&) character. The parameter string should be preceded by a question mark (?) following the listing handle. For example:
| Field | String | Values | Example | Notes |
|---|---|---|---|---|
| Merchant Listing Handle | n/a | Text | /g/merchantlistinghandle | The merchant listing handle is used to construct the URL. |
| Amount | a | Number | a=10 | The amount of money a end user may want to donate in the configured currency of the listing (not the donor). |
| Amount Lock | al | True, False | al=true | ‘True’ makes the amount field read-only, so the amount set with the parameter cannot be changed. |
| Fund | fnd | Fund name or fund API key | fnd=tithes | Can specify any fund, not just those set as visible for the listing. The link should use f[0] or fnd, not both. If the fund name choice contains a space the spaces must be replaced with "%20" or the link could error. |
| Fund Visibility | fndv | Show, Hide, Lock | fndv=lock | 'Lock' displays the selected fund as a read-only value. 'Hide' removes the fund selection dropdown box from the page entirely. |
| Recurring Visibility | rcv | True, False | rcv=false | False hides the recurring/one-time selector. If a recurring schedule is specified with the r parameter, the schedule selector will display. If no value is set, rcv defaults to true. |
| Recurrence | r | Weekly, Fortnightly, Monthly, FirstAndFifteenth, Quarterly, SemiYearly, Yearly, No | r=monthly | The value of this should be any FrequencyCode mentioned - also accept 'No' which will give the experience of a one-off payment. |
| Recurring Start Date | rsd | Date (yyyy-mm-dd) | rsd=2019-10-12 | This selects the date of when the first recurring gift will be sent. |
| Recurring End Type | ret | Never, Date, Occurrences | ret=date | Sets whether or not the gift has an end date or fixed number of occurrences. |
| Recurring End Date | red | Date (yyyy-mm-dd) | red=2019-11-11 | If ‘Recurring End Type’ is set to Date, you can specify the date you want to terminate the recurring schedule. |
| Recurring End Occurrence | reo | Number | reo=4 | If ‘Recurring End Type’ is set to Occurrences, you can specify the number of occurrences before the end of the recurring schedule. |
| Reference | f[x] | Fund name or reference field choices | f[0] = ReferenceFieldName | Reference fields use the name of the field and the order in which they occur on the Listing. If the fund name or reference field choice contains any whitespaces, the spaces must be replaced with "%20" or the link will error. Fields start at f[0] and increment by 1, so f[0], f[1], f[2], etc. |
| First Name | ufn | Text | ufn=FirstName | |
| Last Name | uln | Text | uln=LastName | |
| Email Address | ue | Text | ue=email@domain.com | |
| Mobile Number | up | Number | up=%2B15417543010 | Mobile numbers should be inputted without any whitespaces. The default mobile input format is set to US (international). If the number is a US number, the country code may be appended (optional). If the number is not a US number, the country code must be appended and prefixed with “%2B” in the url (“+” symbol). e.g. For a US number where the Country code is +1 and the National number is 541-754-3010, valid url parameter formats include "up=%2B15417543010" and "up=5417543010" Further reference: https://en.wikipedia.org/wiki/List_of_mobile_telephone_prefixes_by_country |
| Source Reference | sr | Alphanumeric | sr=fm12345 | This can be any reference value, which will be passed back with a redirect URL as a query string parameter alongside a payment token. |
| Note | nt | Text | nt=This%20is%20a%20note | Can be used for storing the information associated with the payment, such as participant name for example. Only visible in the Pushpay Admin portal and the API. |
| Additional Data | ad | Text | ad=%7B%22name%22%3A%22some%20name%22%7D | Can be used for storing the information associated with the payment, such as participant name for example. Must be JSON formatted, and is only available via the API. |
| Redirect URL | ru | Text | ru=Brand%20New%20Redirect | A pre-approved token, linked to a URL that has been added or approved by Pushpay (see Adding Redirect URLs below). The URL must be HTTPS. |
Configuring Redirect URLs
A merchant admin can add additional redirect URLs at the end of the Preconfigured Giving Link experience. This will allow you to send the giver to a different redirect URL for funds or campaigns etc.
For third party integrators, we require using a single endpoint for a redirect URL. You can use the source reference to pass a unique identifier back with the redirect. This will allow you to dynamically update the redirect page with donation specific content.
The redirect URL will be appended with a payment token that can be used to reference the full payment details using a secure connection to the Pushpay API. A payment token will only be included if payment was successfully taken.
| Value | Notes |
|---|---|
| Payment Token | Reference that can be used to retrieve further details on payments via Pushpay API. |
| Source Reference | This can be any reference value, which will be passed back with a redirect URL as a query string parameter alongside the payment token. |
e.g. Church provides Pushpay with a redirect URL landing page: https://mychurch.com/ppredirect (mychurch).
Then when constructing the Preconfigured Giving Link, you pass in the redirect code (mychurch) and source reference e.g. Https://pushpay.com/g/mychurch?a=20&fnd=1&up=14041234567&ru=mychurch&sr=campaign1
When the donor is redirected to https://mychurch.com/ppredirect, your page would need to store/parse out the payment token and source reference and redirect appropriately.
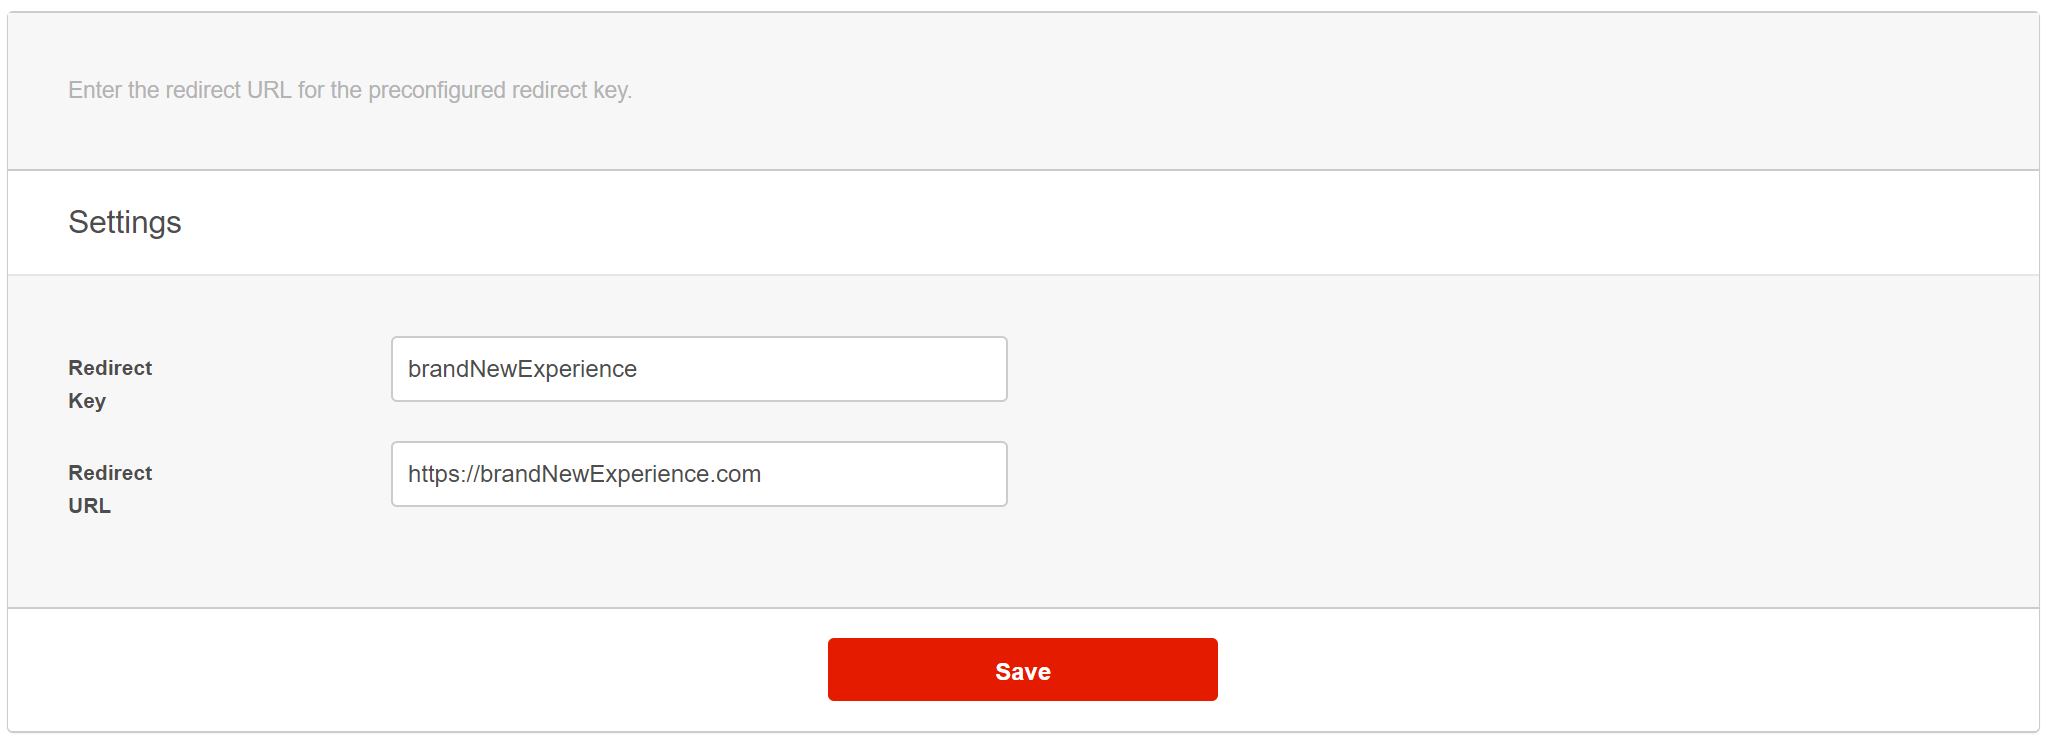
Adding Redirect URLs
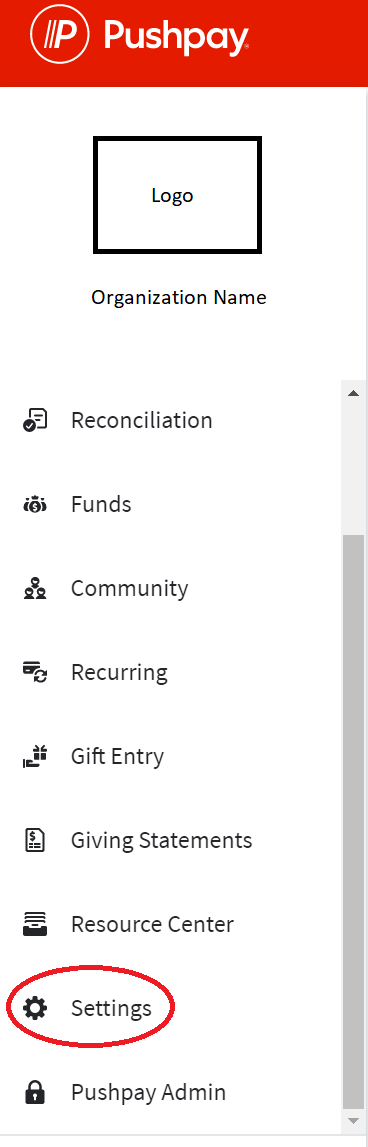
Log into your merchant portal and scroll down to Settings on the sidebar.
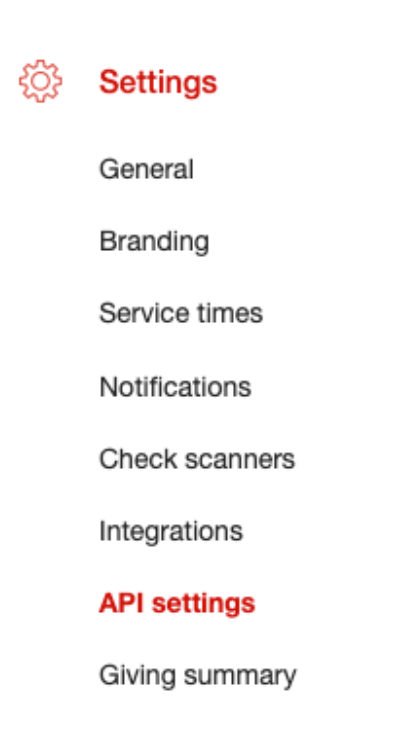
Click on Settings and then on API settings.
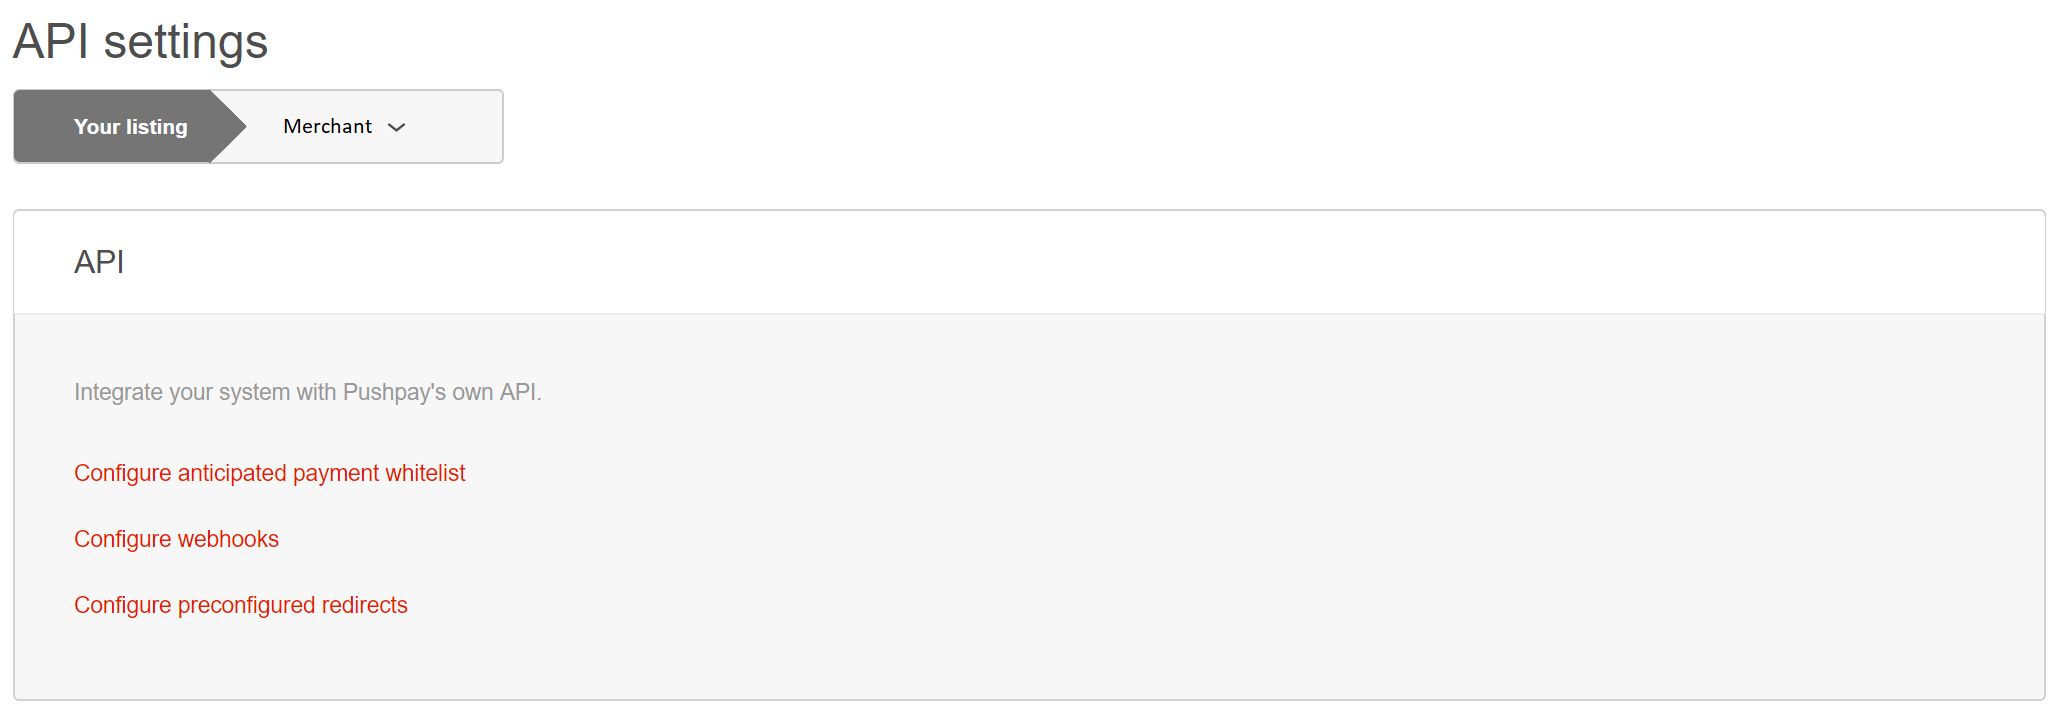
Go to Configure preconfigured redirects.
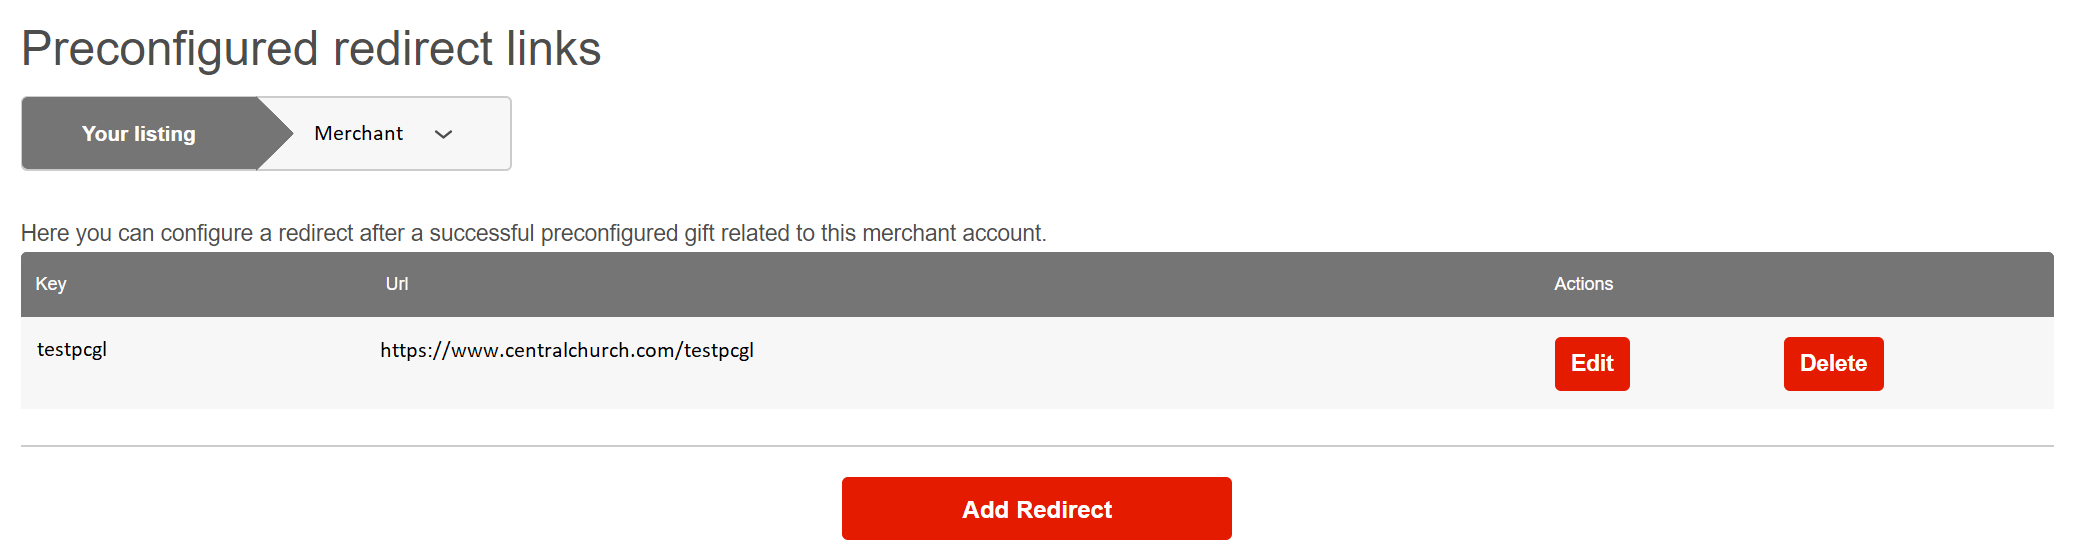
Add or edit an existing URL.
Finally add the Redirect Key and Redirect URL to be used for your Preconfigured Giving Links. Use the Redirect Key in the URL after ‘ru=’ in this example:
https://pushpay.com/g/mychurch?a=20&fnd=1&up=14041234567&ru=Brand%20New%20Redirect&sr=campaign1
Retrieving Final Transaction Records
To confirm that transactions have been made and processed successfully, you should periodically poll the Pushpay API.
It may be desirable to pre-filter the results to reduce the size of the returned data. You could do this by specific fund and/or merchant listing. It is also possible to filter by date range using updatedFrom and updatedTo dates.
As well as providing the expected Pushpay data for these transaction records, the data will include the references for Donor ID and Transaction ID from the integrated ChMS (if your organization has one configured). This data may not be available immediately depending the synchronize schedule that Pushpay has with the ChMS in question. Use of the updatedOn date when retrieving transaction records can help with identifying records that have been updated once synchronized with a ChMS.
The record of a single transaction could be updated several times after it is initially created; once when the record is updated with data from a ChMS; and a second time when the transaction is settled. Card transactions are generally deposited into the merchant’s account ~2 business days after the transaction, while ACH transactions clear ~4 business days after the transaction.
For more details on how to successfully synchronize transactions with Pushpay, see Payments Synchronization Guidance.
API Usage Examples
Examples of API requests and responses can be found here: https://pushpay.io/docs/operations/payments#get__v1_merchant_merchantKey_payments